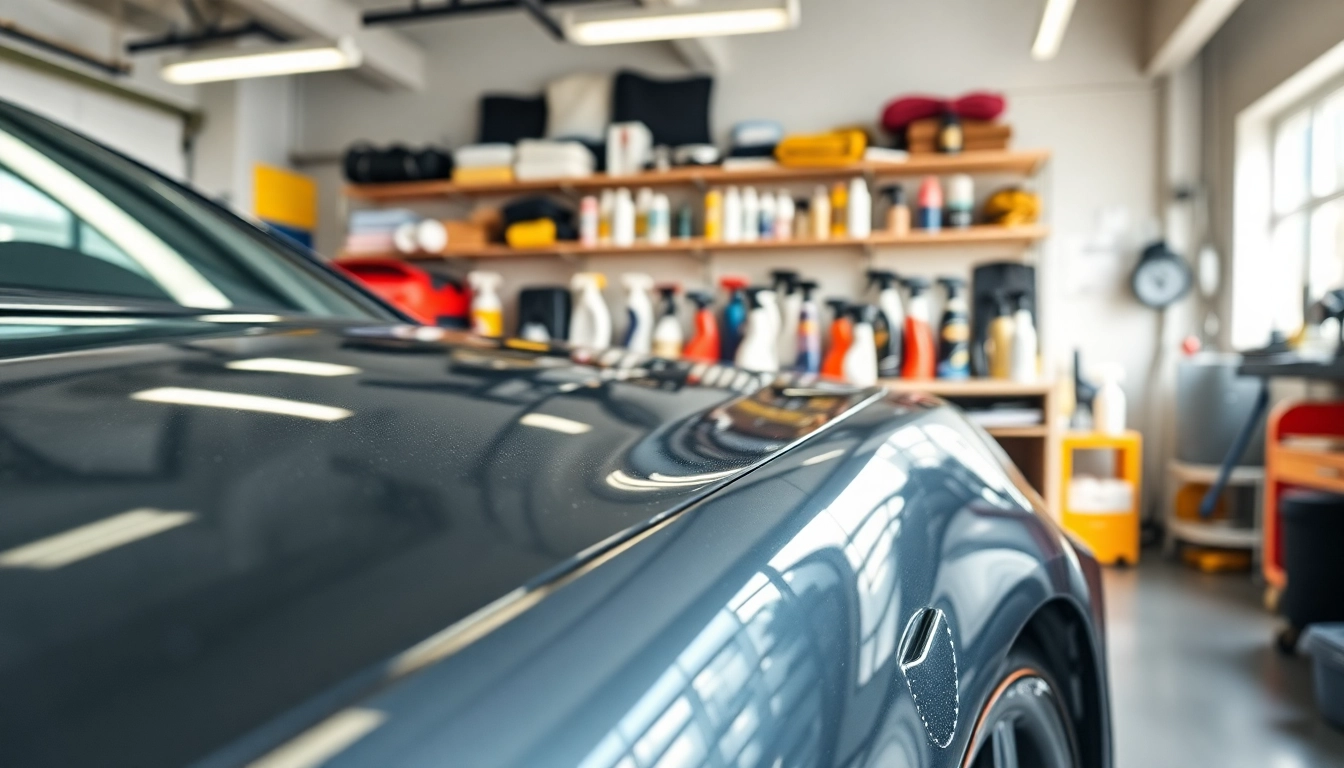
Understanding the Car Detailing Routine Step by Step
Whether you're looking to preserve your vehicle's resale value or simply enjoy driving a clean and polished car, a systematic car detailing routine step by step is essential. Car detailing consists of thorough cleaning, protection, and restoration of a vehicle’s interior and exterior, ensuring that it looks its best and remains in top condition. This comprehensive guide will provide you with all the details you need to understand and perform an effective detailing routine.
What is Car Detailing?
Car detailing is the meticulous process of cleaning and reconditioning a vehicle to ensure it looks brand new. This process goes beyond a regular car wash; it includes deep cleaning of all areas, both inside and out, using specialized tools and products. It not only improves aesthetics but also protects the car’s surfaces from elements that can cause damage over time.
Benefits of a Detailed Car
- Enhanced Aesthetics: A clean car is visually appealing and can significantly improve your driving experience.
- Increased Resale Value: Regular detailing can help maintain the vehicle's condition, making it more attractive to potential buyers.
- Improved Safety: Regular interior cleaning clears dust and allergens, enhancing air quality inside the vehicle.
- Longer Lifespan: Detailing protects surfaces from wear and tear, prolonging the life of the vehicle.
Essential Tools for Detailing
To perform a successful car detailing routine, you will need various tools and products:
- Pressure Washer: For effective exterior cleaning.
- Microfiber Towels: Essential for drying and polishing surfaces without scratching.
- Detailing Brushes: Great for reaching tight spaces in wheels and interior.
- Vacuum Cleaner: Important for cleaning upholstery and carpets.
- Wash Mitts: Helps to prevent swirl marks during the wash.
- Clay Bar: To remove contaminants from the paint surface.
- Wax and Sealant: For protecting the exterior finish.
Step-by-Step Exterior Car Detailing
Step 1: Wash and Rinse
The first step in any detailing routine is a thorough wash. Using a two-bucket method is ideal, where one bucket contains soapy water and the other clean water for rinsing your mitt. Begin by rinsing the vehicle to remove loose dirt, then apply soapy water in sections from the top down, ensuring all surfaces are covered.
Step 2: Drying Techniques
After washing, it’s crucial to dry the vehicle properly to avoid water spots. Use microfiber towels for this task, as they absorb water efficiently. Employ the blotting method instead of dragging the towel across the surface to minimize the risk of scratches.
Step 3: Clay Bar Treatment
A clay bar removes embedded contaminants that regular washing cannot. Lightly moisten the surface with a clay lubricant and glide the clay bar over the surface. This process leaves the paint smooth and ready for polishing.
Interior Car Detailing Process
Step 1: Clear Out the Interior
Start the interior detailing by removing any personal items, trash, and floor mats. This makes it easier to vacuum and clean surfaces without obstructions.
Step 2: Vacuuming and Dusting
Once cleared, use a vacuum cleaner to remove dust, dirt, and debris from carpets, upholstery, and under the seats. For hard-to-reach areas, utilize detailing brushes to ensure no dust is left behind.
Step 3: Cleaning Upholstery and Surfaces
Depending on your car's interior material, use appropriate cleaners for vinyl, leather, or fabric. For fabric seats, a steam cleaner can be effective in removing stains and odors. Wipe down surfaces with a damp cloth and a suitable cleaning product.
Detailing Finishing Touches
Step 1: Waxing and Polishing
After detailing, apply a layer of wax to the exterior surfaces. Wax offers protection against UV rays and environmental contaminants while enhancing shine. Depending on your preferences, you can use either traditional wax or a synthetic sealant for longer-lasting protection.
Step 2: Tire and Wheel Care
Don’t forget to clean your tires and rims. Use a dedicated tire cleaner and brush for effective cleaning. Afterward, apply tire shine, which not only enhances appearance but also provides a protective layer against cracking and fading.
Step 3: Glass and Interior Protection
Finally, clean all glass surfaces with a proper glass cleaner to ensure visibility. Consider applying a glass sealant for added protection against rain and grime. For the interior, utilizing a protectant helps shield surfaces from fading and cracking.
Tips for Maintaining Your Car's Clean Finish
Regular Maintenance Schedule
Creating a regular maintenance schedule is vital for keeping both interior and exterior details pristine. A quick wash every two weeks and a complete detailing every few months can go a long way.
Choosing the Right Products
Not all cleaning products are created equal. Invest in high-quality, vehicle-specific products to avoid damaging surfaces. Reading reviews and adhering to manufacturer recommendations can guide your choices.
Storing Your Detailing Supplies
Maintain your tools and products in a clean, dry area to prevent damage. Organizing your supplies makes it easy to access everything you need when it’s time to detail your vehicle.
Frequently Asked Questions
1. How often should I detail my car?
It’s recommended to detail your car at least every 3 to 6 months, depending on usage, climate, and personal preference.
2. Do I need special products for detailing?
Yes, using specific products for various surfaces ensures effective cleaning and prevents damage from unsuitable chemicals.
3. Can I detail my car without professional help?
Absolutely! With the right tools and guidance, many car owners successfully detail their vehicles at home.
4. How long does it take to detail a car?
Full car detailing can take anywhere from 3 to 8 hours, depending on the level of detail and the size of the vehicle.
5. Is detailing worth it?
Yes, detailing not only enhances your car's appearance but also protects and prolongs its condition, making it a worthwhile investment.